Have you ever wondered what life would be having a method that allows you to protect against heat retention in the summer? I know I did. And recently, I thought about one: thermal curtains.
You probably heard about them before, and maybe some questions came into your mind.
Do they work, how much do they cost, how do you install them, etc. I’m going to tell everything about them and answer your questions as well in this article. Keep reading and you definitely will not regret it!
Short answer
When I told my friends about them, most of them asked me to go straight to the point with the main, basic question: do they actually work? To keep you interested in reading, I’m going to tell you from the beginning.
Yes, they do work! However, there are many factors you should consider when choosing the best ones.
Definition, characteristics, and specs
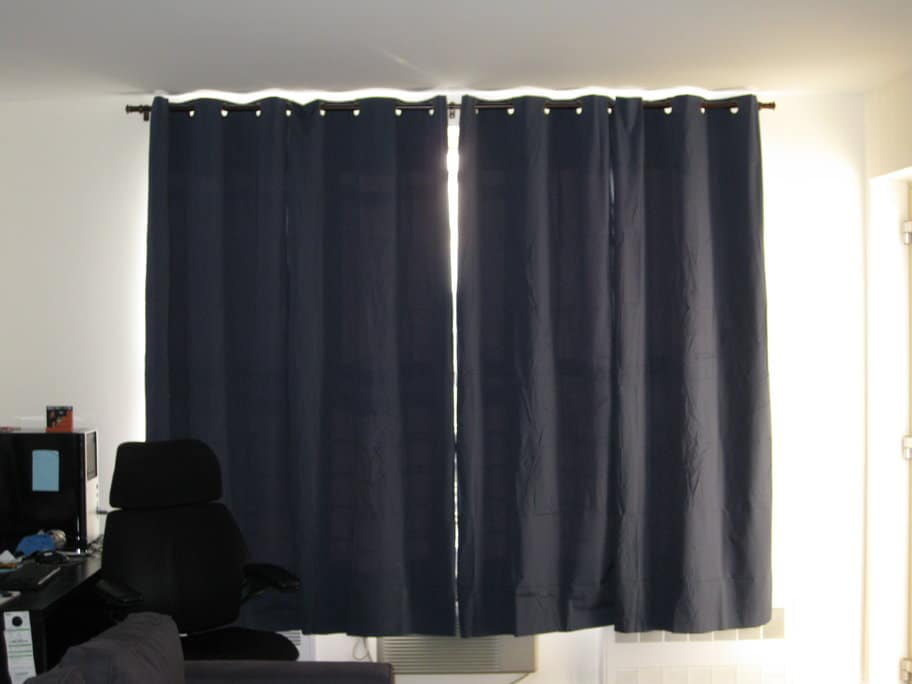
Thermal curtains are heavy fabric panels which are designed to trap heat. They are useful for both summer and winter, but I’m going to tell you their advantages in summer. Pay much attention when you buy them.
They look and share many of the same proprieties as black-out drapes, but they are more effective. Black-out curtains usually have a thin liner sewn in the interior just to keep out sunlight.
You all know that sunlight warms the air within your home by traveling through your window. While this may be a good thing in the winter, in the summer this is very annoying. If that happens, you usually turn on your air conditioner, and everything comes back to normal, right?
With thermal curtains, using your air conditioner may not be necessary. Why is that? Again, because those curtains prevent cool air from escaping the room. So it will save you some money as well.
Thermal curtains can come in a variety of fabrics, colors, styles, and lengths. Typical materials for these are microfiber, polyester, velvet, cotton, and silk. Also, color can make a difference when talking both about design and effectiveness.
Bright colors will allow more sunlight in, while darker shades will minimize the amount of sunlight in the house. Length and positioning are also very important factors that can determine a certain look.
Most of them will have different usages and functions, but we are going to cover that in a little bit.
Thermal curtains uses
Their name and definition may confuse you into thinking that these are for thermal uses only, but that’s not true. Some characteristics could make them useful in a bunch of situations. I’m going to list you some of them. Only, don’t limit yourself to those, be creative and let me know how did you use them as well!
- As I’ve told you already, use them for keeping the cold inside during the summer and out in the winter. This is their main characteristic and the number 1 reason you will be buying that kind of curtains.
- Use them to save money. You have to use energy for the air conditioner in the summer and heat in the winter. Buy some pairs of these, and you definitely are going to lower your bills.
- You can also use them to give your room a pleasant aesthetic. Consult a designer to find out which color and material of curtains you need to buy, so it will match your furniture, wall color, paintings, and much more.
- Because of the thick material, many of these can even act a sound barrier. Use that in your advantage in order to create the perfect sleep environment.
- Use them to maintain your skin’s health. They also can have preventative ultraviolet (UV) technology in order to block the UV rays coming from outside.
- They can improve your room’s privacy. They aren’t as transparent as typical curtains, so no one from outside can see what is going on inside.
How to choose curtains lengths?
Before I tell you how to install them, it is really important to choose the correct lengths. Make sure you get the right measurements of the window first because you don’t want too much-hanging material on the floor. Remember, you want to amaze your guests with them, and that would look silly if they are too long or short. Most will come in either 63, 84, 95, 108, or 120 inches.
You can achieve a certain look by placing the curtains in different positions. For example, if you are going for a traditional look, the curtain should hang about 6 inches above the top of the window, 3 inches below the bottom of the frame, and 3 inches beyond the sides.
However, if you want a more modern look, you need to switch some things up. The curtains need to be 3 times wider than the window, and you need to hang them so the bottom rests about 1 inch from the floor.
The last look is going to be the luxurious look which, in my opinion, is the best. Hang the curtains as close to the ceiling as possible and allow the bottom of the curtains to rest on the floor to achieve it.
On the other hand, in order for maximum efficiency, the curtains should be hung as close to windows as possible. You need to have few to no gaps between the windows and the curtains. You should be the one to decide what is worth sacrificing more: design or effectiveness.
How to install them
Unfortunately, once you buy them, you can’t expect the curtains to just magically hang onto the wall. You also will need a curtain rod. It may seem complicated, but it is a really easy thing to install.
The materials you are going to need are screws, wall anchors, screwdriver, level, power drill, tape measure, curtain rod, and optionally a ladder in case you are not tall enough.
First, before measuring anything, you need to decide which look you are going for. Depending on where you’ll install your rod, the curtains will hang differently: either at the end of the window, in the middle or on the floor. Also, another thing you should consider is the length of the curtain rod. If you want to pull them completely away from the windows, buy a longer rod.
The first step is to make sure you position it properly. In the package, you will get some brackets you will use later, but first, find them the best position. Use a pencil to mark the wanted height and use the level to unite the marked points. You can use a level for drawing to make sure the rod will hang evenly
The next step is to install the brackets we just mentioned. Hold one of those up in the marked position and also mark the top of the bracket and the holes where the screws will go. After that, if you have a typical rod, screw the wall anchors into the screws marks.
Pick up the brackets again and screw in the screws, starting with the first hole. Don’t overtighten any of those, as it can be dangerous for both you and your curtains. Do that for both brackets and then you can go to step three.
Step three is to verify if your measurements were right. Place the rod in the brackets, then use the level to check if it is even. If it’s not, you may want to repeat this process, and be more careful the next time.
Step four is to attach the curtains to the curtain rod and hang it on the brackets.
That was it, congratulations! You’ve managed to install the curtain rod by yourself, and now you can add on the thermal curtains.
The best thermal curtains on the market
The number one option of thermal curtains which I recommend must be the Flamingo P Room Unlined Thermal Insulated Window Curtains. They are made from polyester, one of the best materials for this kind of product.
They come in different sizes and patterns, so they can give your room a more pleasant design. It feels really nice because of the ultra-soft and high-density smooth microfiber while also being effective.
They reduce about 85-99% of the light and UV rays depending on the color of the material. This is one of the examples which I’ve talked about earlier that will also filter about 70% of the sound coming from outside.
They are also very easy to wash: just throw them into the washing machine, and you are good to go. All of those amazing things come for only $39. If I haven’t convinced you, the reviews will do that. You can buy those on Amazon, where they have 4.6 out of 5 stars from 539 customer reviews. The link to those is here.
If you want to go for a simpler design, but still effective, you can try the RHF Wide Thermal Blackout Insulated Curtains. These are still made out of polyester, coming in different sizes and colors again.
However, you should watch out as these can be sold as a single panel, not 2 like the previous option.
They come with Antique Bronze Grommet rings, in order to slide smoothly over the rod. This will surely save a lot of energy in both summer and winter. They are also cheaper; although, they are pretty much the same thing, only $28 on Amazon. They have 1,997 customer reviews, with a 4.7 out of 5 stars. You can buy them here.
How to make thermal curtains by yourself
If you don’t think it is worth paying $30 on those, you can try to make them by yourself. However, this may be an option only if you are in the industry, or you happen to be good at sewing and measuring.
Don’t spend money on a sewing machine just because you want some handmade products, as long as you can get them online for such a low price. If you finally decided to go for a DIY project, go ahead and pay attention to the next steps:
Step 1. Choose the insulation material
Depending on how much money you want to spend, you can go for either a thick material with a rubbery texture or a light insulation material. The key is to layer these. The front layer should be for design purposes, so you can pick any medium to heavyweight fabric. The second layer should be the functional layer that will make sure your curtains will be insulated.
Step 2. The second step will be dedicated to measurements.
Measure the width and the height of the windows you are making the thermal curtains for. This way you will know how to cut the fabrics we’ve talked about earlier. Make sure that you cut the material depending on the look that you are going for. You can make either shorter or longer curtains that will or not extend beyond the window.
Step 3. Cut the materials as we’ve talked in step 2.
Step 4. Combine the first and the second layer of the curtains using the sewing machine.
Step 5. Cut holes in the curtains accordingly in order to insert the grommets into them.
Step 6. Sew velcro along the sides of the curtains. This will improve the insulation.
Step 7. Hang the curtains onto the curtain rod
That’s it! You’ve created your own thermal curtains.
Conclusion
If you either go buy a pair of thermal curtains or you choose to craft them by yourself, the results will still be the same. They will make sure your room is going to be prettier, quieter, healthier and you are also saving money in the meantime.
They do a great job in the summer, protecting you from all the heat, sunlight, and UV rays. Do you happen to own this kind of curtains? What model do you own and how did they work for you?